How to create a Twitter bot: Step-by-step method
From automatically sending tweets to sending direct messages, Twitter bots have a lot of possibilities.
Here are the steps you'll need to take to develop your own bot:
- Request a developer account
- Create a Twitter application
- Set up a development environment
- Connect your Twitter application and your development environment
- Program the bot
- Test the bot
With this checklist in hand, it's time to start building.
1. Create a developer account
To create your bot, you need to request a developer account. Don't worry, creating apps on Twitter is free!
Go to the site developer.twitter.com to begin with.
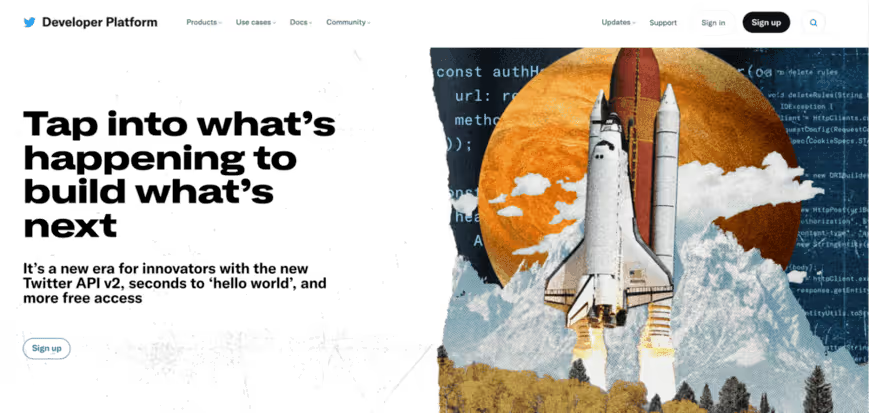
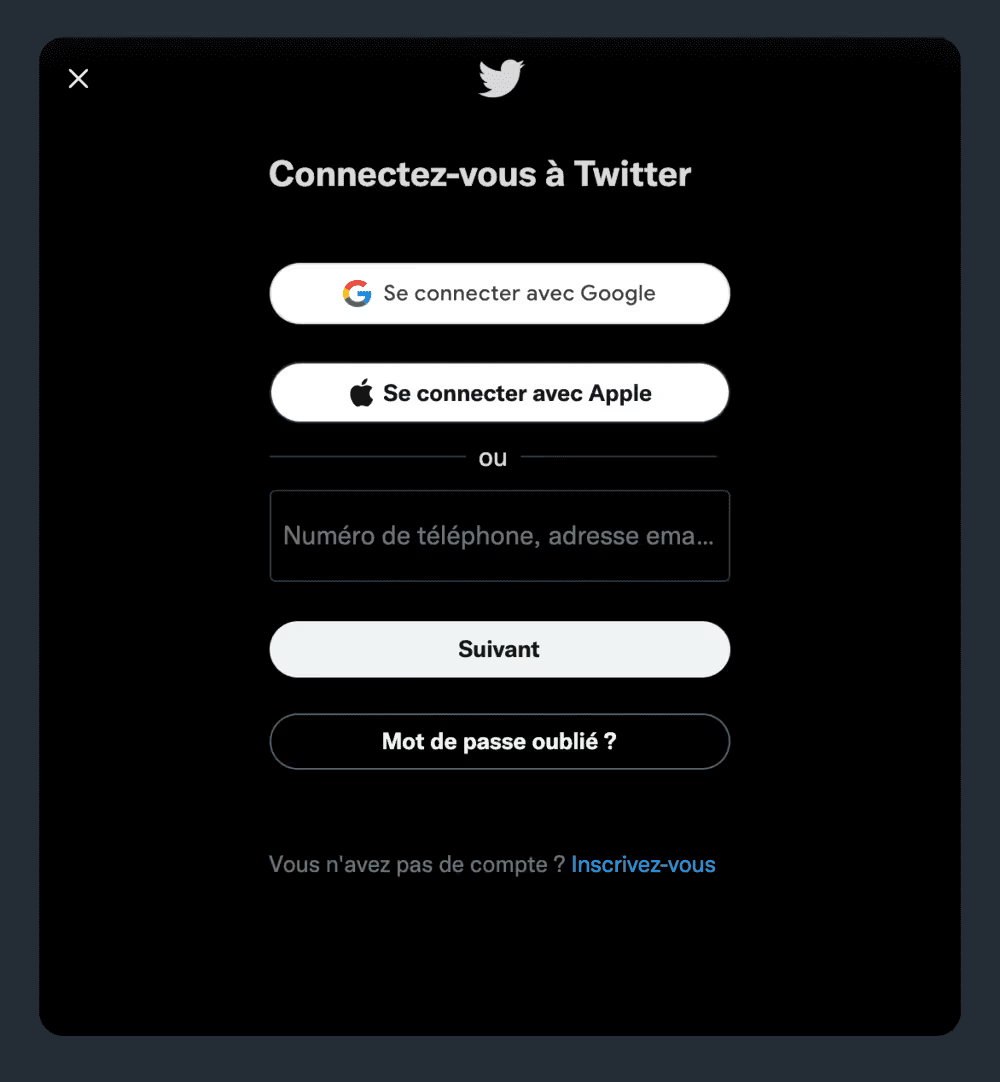
Click on Signup and log in to Twitter using the method of your choice:
User profile
Select a user profile that will be associated with the bot. It can be your own personal account, or you can create a new Twitter account.
Remember that if you create a new Twitter account just for the bot, your personal information will still need to be verified, such as your phone number and email address.
Account Details
Request developer access on behalf of your organization or for personal use.
- Organization - Select this option if your bot should be linked to an organization. You'll need to enter a few details about your organization, such as its website URL, the main country where it operates, where most of its customers are located, and the sectors you serve.
- Personal use - Select this option if your bot is just a side project.
Use case details
Twitter needs to understand why you're creating a developer account in the first place.
Whether it's understanding your target audience, detecting trends, or simply keeping tweets, you'll need to specify your intent to get approved.
After you specify a use case, you'll need to answer four additional questions about using Twitter's APIs. Be thorough and truthful in your explanations, as Twitter wants to make sure their platform isn't being used for spam.
Finally, Twitter would like to know if the content of this application will be accessible to a government entity. If you do not provide this information, your request may be rejected.
Terms of use
I get it. Reading the terms of service can be a time-consuming process. So I'm going to explain to you what you're agreeing to by requesting a developer account.
- Reverse engineering - Do not attempt to reveal the source code of any Twitter API. Don't change or disrupt the features and functionality of any Twitter APIs. Don't sell, rent, or license data to others.
- Flow limits - In short, don't spam users with your bot.
- Geographic data - This data can only be used to identify the tagged location of Twitter content, such as tweets, retweets, direct messages, etc.
- Use of Twitter brands - In short, don't use the Twitter logo for this account.
After having reviewed all the terms of use and having accepted them, the last step asks you to verify your identity through your email.
2. Create a Twitter application
Now that you've verified your developer account, it's time to create your first Twitter application This application will be used to power your bot.
On the developer home page, click Create App, which should take you to the page below:

There are a few details about your application that you will need specify before acquiring API keys and access tokens.
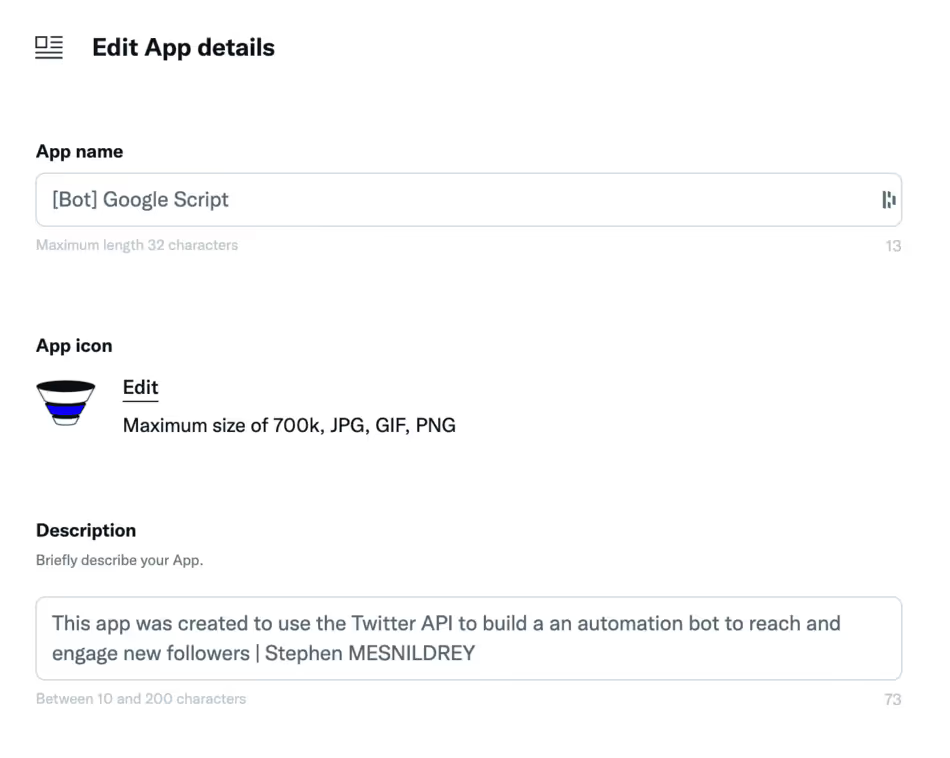
Application name
Pretty explicit. What is the name of this project?
The name you choose will appear as the source of a tweet. Think of a username rather than a Twitter ID.
Description of the application
Tell users what your application will consist of.
For example, we are in the process of creating a bot that will retweet our content, and I am letting users know about it.
Website URL
Any tweet from your bot should be attributed to a source. This source should be the URL of your website.
Purpose of the application
The last mandatory field is informing Twitter employees about the purpose of your application. While this seems redundant, Twitter wants to make sure your application complies with its terms and conditions.
Other details
You can also enter items such as the privacy policy URL, the reminder URL, and the terms of use URL.
However, these items are neither required by Twitter nor required to create your Twitter bot. So let's continue.
3. Set up a development environment
Of Python At Node.js, Twitter bots can be programmed, tested, and deployed in virtually any development environment.
However, for the sake of simplicity, we are going to use a Google Script for Twitter bots created by Amit Agarwal.
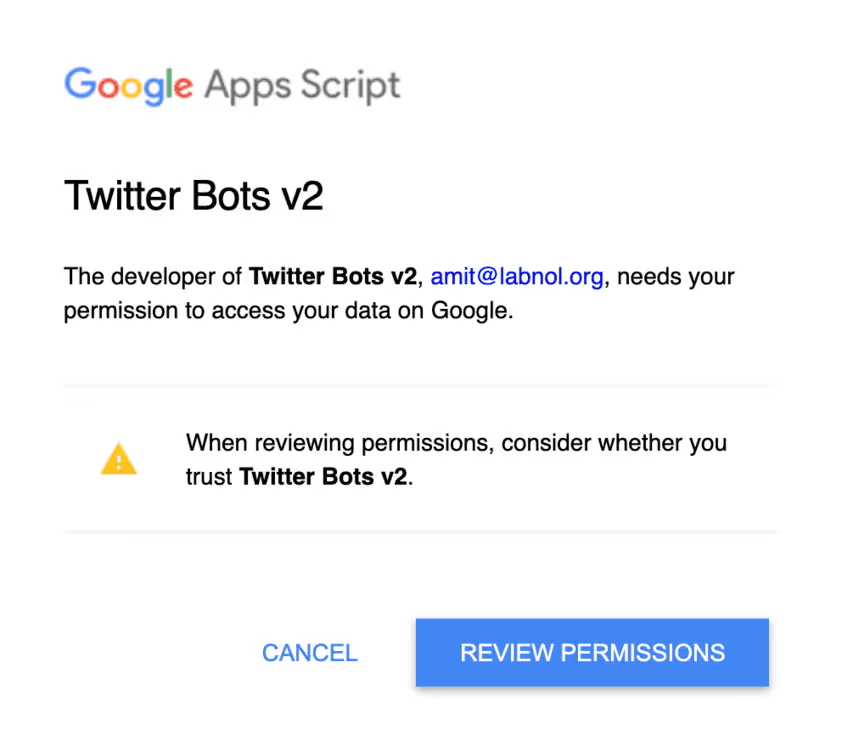
4. Connect your Twitter application and your development environment
Your Twitter application and development environment need to be able to communicate with each other for the bot to work.
Start by locating the API keys and access tokens for your Twitter application.
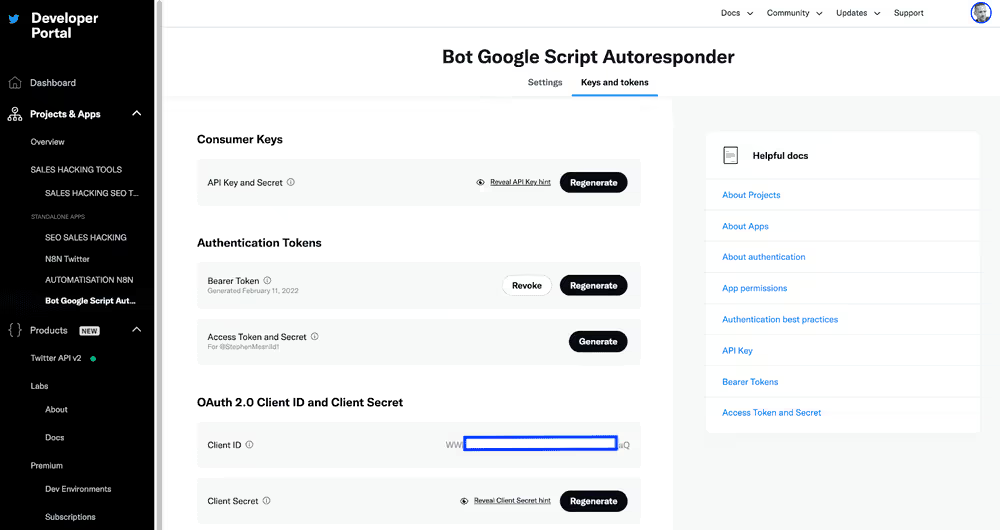
You will find them next to application details. You may need to generate an access token and an access token secret.
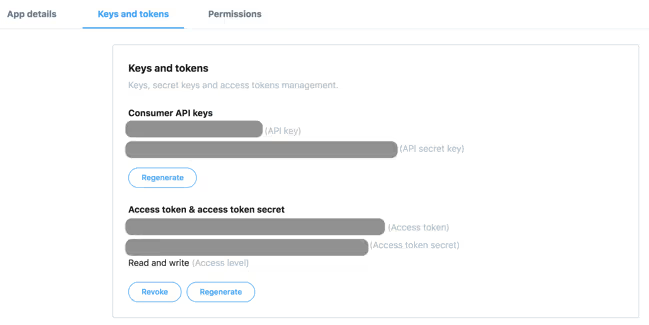
Keep your access keys secret as anyone with these keys will be able to access your account.
Also, be sure to check the permissions of your application. By default, they will be set to “Read and write”, which essentially means that your application can perform basic Twitter functions.
However, if you want your application to be able to send direct messages to users, click “Read, write, and direct messages.”
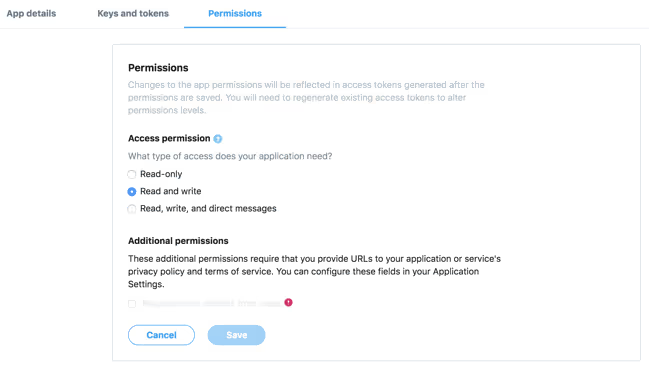
Then, head to the Agarwal script and enter the four keys in the respective fields to connect your Twitter application and development environment:
- Consumer Key
- Consumer Secret
- Access Token
- Access Secret
5. Program the bot
Now comes the fun part: programming your Twitter bot.
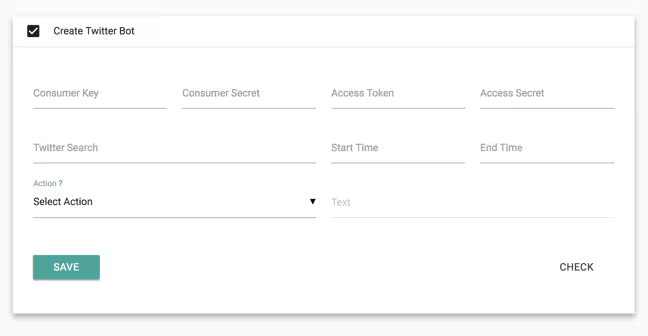
There are a few aspects of this script that you should be familiar with. I am going to detail them:
- Twitter search - Your orders will be entered here. This is the most important part of programming your bot because Twitter needs to know what to look for.
- Action - The second most important part of programming your bot is choosing what action it will take. For example, will your bot retweet anything that contains a certain hashtag? Will it send a direct thank you message to each new follower? You need to specify its action before deploying it.
- Text - An action can be performed without context, but where is the fun? It's a good idea to add text next to an action to provide those who engage with your bot a more personalized experience.
- Start and end time - This clever feature allows you to set a start and end time for your bot to operate. This can be useful to let subscribers know that the team is not on duty and that they will contact them first thing tomorrow morning.
Let us now return to actions, since there are many of them.
In the example below, I program the bot to send a public response to each tweet in French that mentions the expression “growth hacking.” The text of the response will be as follows:

This next bot will be programmed to send a private direct message to all new followers.
The search field should contain your Twitter ID, in this case it's @StephenMesnild1. The text of the direct message will be as follows:
“Thanks for following me! Check out my website and vote for your favorite growth hack!”

The last bot I'm going to set up will retweet the content with our custom hashtag #letsgrow.
I set the minimum number of favorites to “1", which basically means that all tweets with that hashtag will be cited by the bot as long as they have a like or a favorite. You can set this number as high as you want.
The text quoted in the retweet will be “Check out today's Growth Hack @StephenMesnid1!”

I enter the API keys and the access key identification information, I click on Save And lo and behold, the bot has been deployed.
Now it's time to test it out.
6. Try the Twitter bot
If all goes well, your bot should start its actions, but it's still useful to Do some tests to see if the Twitter bot is active or not.
Click on Check at the bottom of the script to see if an activity has been recorded.
For example, I'm going to see the number of retweets on Twitter with my custom hashtag.
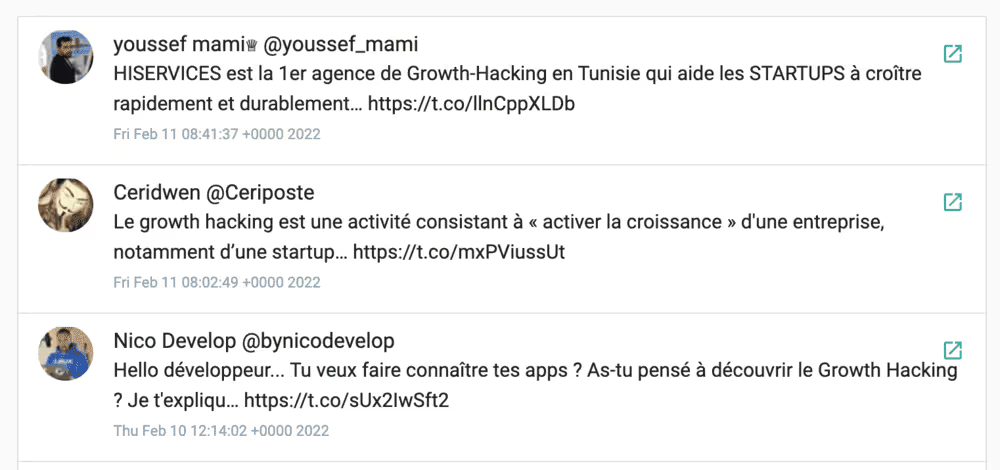
As you can see, the bot has completed the desired action.
If no action is recorded, it does not necessarily mean that your bot is not working. However, it is advisable to check the bot after a few days to ensure that your API keys and access tokens are correct.
It's also worth noting that Twitter has fairly strict guidelines around automation and bots. As noted earlier, Don't program your bot to spam users or retweet sensitive content. It could result in the closure of your bot and even the revocation of your Twitter application.
Twitter bot solutions
Programming a Twitter bot is undoubtedly a fun side project, but it does exist other uses that are more important for business users.
Regardless of how you decide to program your Twitter bot, be sure to carefully follow the steps above and experiment with different actions.

.svg)


